
My nephew and his wife are expecting their first baby. I think babies are just awesome and should be celebrated. I saw this great basket over at Noodlehead some time back and I just knew I had to make it. So, when I found out someone in the family was having a baby I jumped on that pattern!
Here is the completed basket full of baby goodies! It just about killed me to wait to find out the colors they were using for the nursery. I wanted to buy fabric and get started the day I found out! I did wait though. Everyone likes different colors and has different 'styles' and I wanted the gift to be something that they would enjoy and use.

Fabric

 The expecting couple finally
registered and they indicated that the nursery was going to be done in orange, green, and light beige. They had some small dark brown items on the registery so I used that info and hit the local fabric stores and quilting shops. It was like I hit a brick wall. Everything I could find in those colors was ugly, or floral (not great for a boy), or had other colors mixed in. I usually like to buy local if I can but I had to shop online for the fabric this time. Someone had recently given me the link to a great online fabric store and I hit the jackpot there!
Basket
I started the project with the actual basket. The Noodlehead pattern was super easy to follow and it turned out beautifully. I also bought a pattern for a bag from them that I can't wait to make!


 I picked the dark brown...called Rings in Brown by Dear Stella for the outside and a fun pop of orange...called Sweet Zig Zag in Orange by Lori Whitlock for the inside. The trim is Rings in Cream by Mankower UK. After some digging I found out that the nursery was painted in the green, so I wanted this to compliment and not blend in. I also had in the back of my mind that it could be used out in the livingroom; possibly stuffed with some diapers, wipes, and extra burp cloths.
Swaddler
Next up a made a fleece lined swaddler. Gail from over at Probably Actually has made a couple and they are just perfect! For the swaddler I went with Kulla in Orange by Lotta Jansdotter on the outside and some thin Malden Mills fleece (I bought this in bulk 6 years ago when I was on the cloth diaper making kick...I have something like 100 yards of it still) on the inside.

Crib Sheets
I also made crib sheets in a nice soft flannel. The crib sheets in the store are all the same and all boring. I made these from an online tutorial I came across here. The fabric is Typewriter Text in Pistachio by Robert Kaufman


Burp Cloths
 For these, I just hit up my local cloth diaper store and bought the super absorbent Unbleached Indian Prefold diapers. I gave them a wash and dry to quilt them up a bit, then I added a simple binding on the ends. Super easy and cute! I have seen others that put the 'fun' fabric as a strip up the middle of the diaper but they are sooo good at absorbing and cleaning up spit up as is, I didn't want to mess with a good thing. If they were telling the baby's name I might have embroidered that down in the corner. For these I used the same brown rings fabric from in the basket, as well as the green flannel that was used in the sheets. I also used Squared Elements in Orange and Jungle Animals in Orange by Allison Cole.
 Wash Cloths
For the wash cloths I used a microterry that I have had for some time (also from the cloth diaper making stint). For 3 of them I completely backed the wash cloth with some of the fabric. Then for the others I surged the edges of the microterry and then added a decorative strip...making sure to include all the fabrics from the project. I had to tie it all in some how!


Clothes

 Finally, I appliqued some onsies with fun stuffs! I did a bow tie with the Squared Elements in Orange. Then I did a regular tie with a scrap from my huge pile of scraps. Then on the last onsie I did a cloud. The cloud was to match the pants I made. The pattern for the pants was a free one from Made-by-Rae. They were super easy to make and just completely adorable! The main fabric for the pants was Crosshatch Sketch in Caramel by Timeless Treasures.
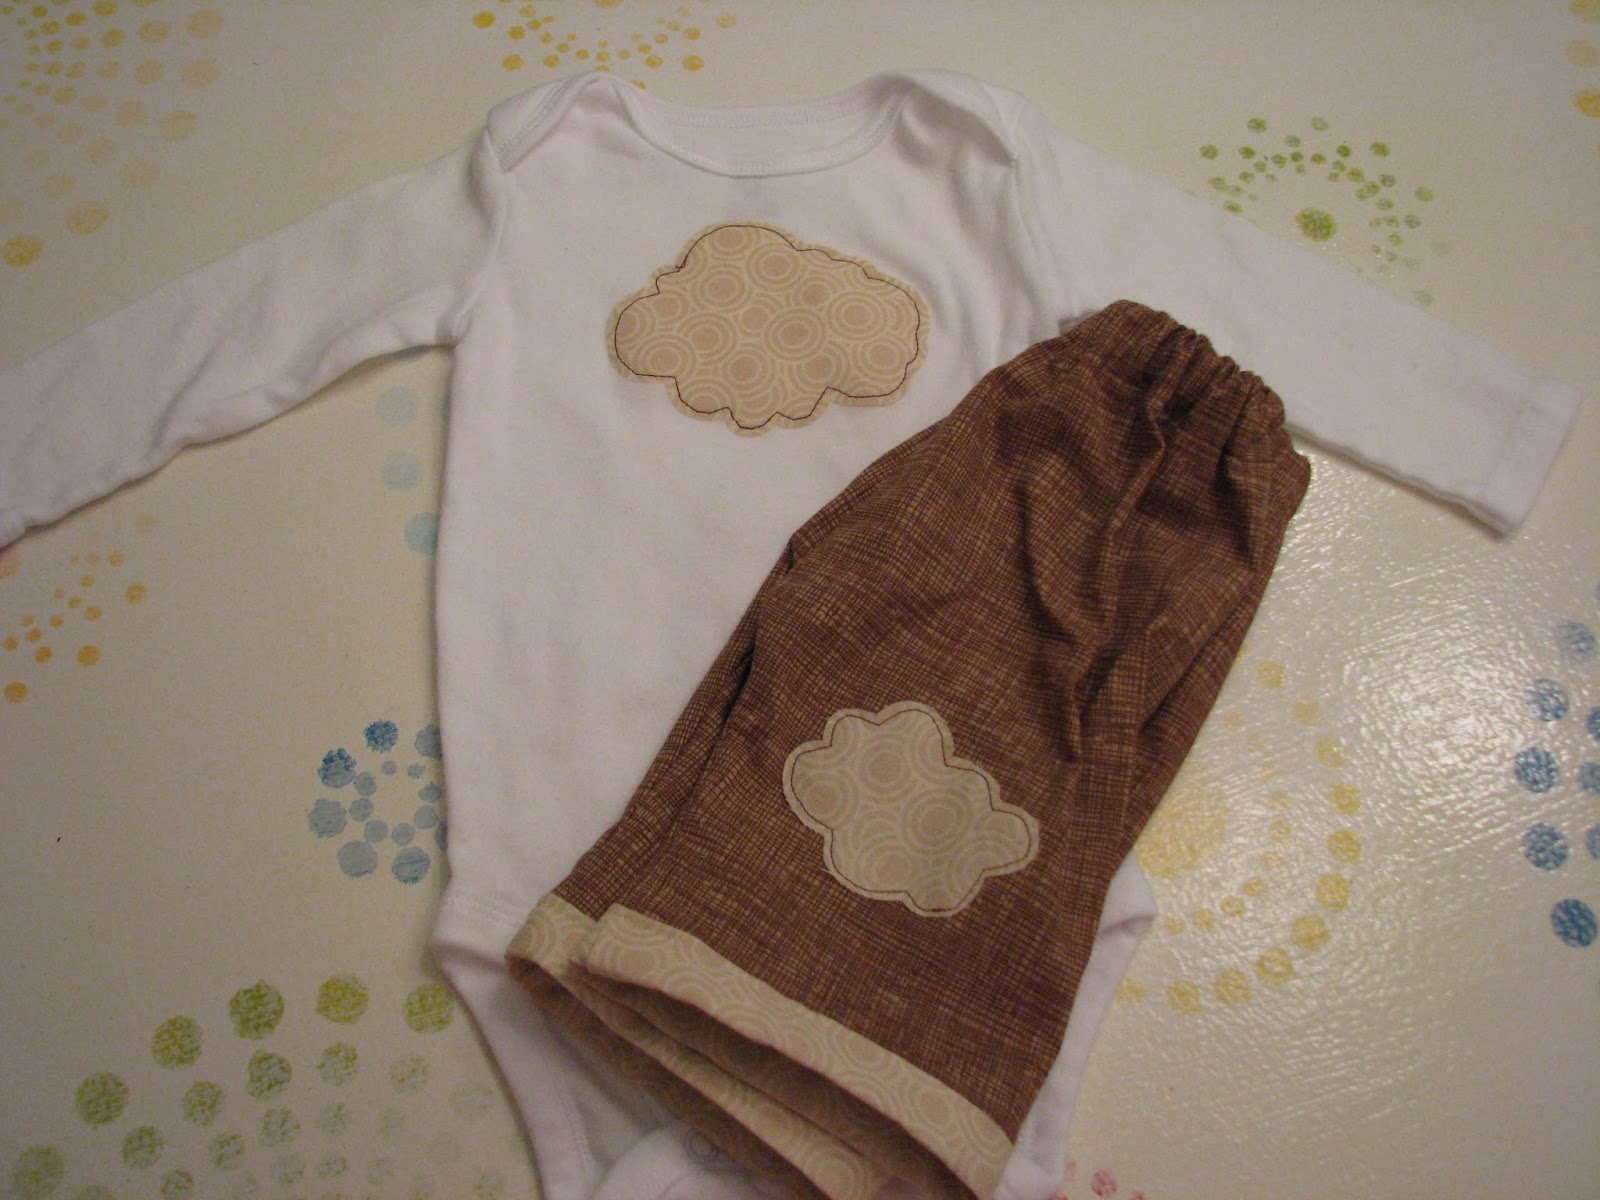

Baby Shower Gift
Here is everything all ready to be stuffed in the basket. I also tossed in some baby body/hair wash, the best diaper cream that I have come across after 3 kids, and some bamboo nursing pads.

I had so much fun putting this together. It was a good 3 weeks of sewing


